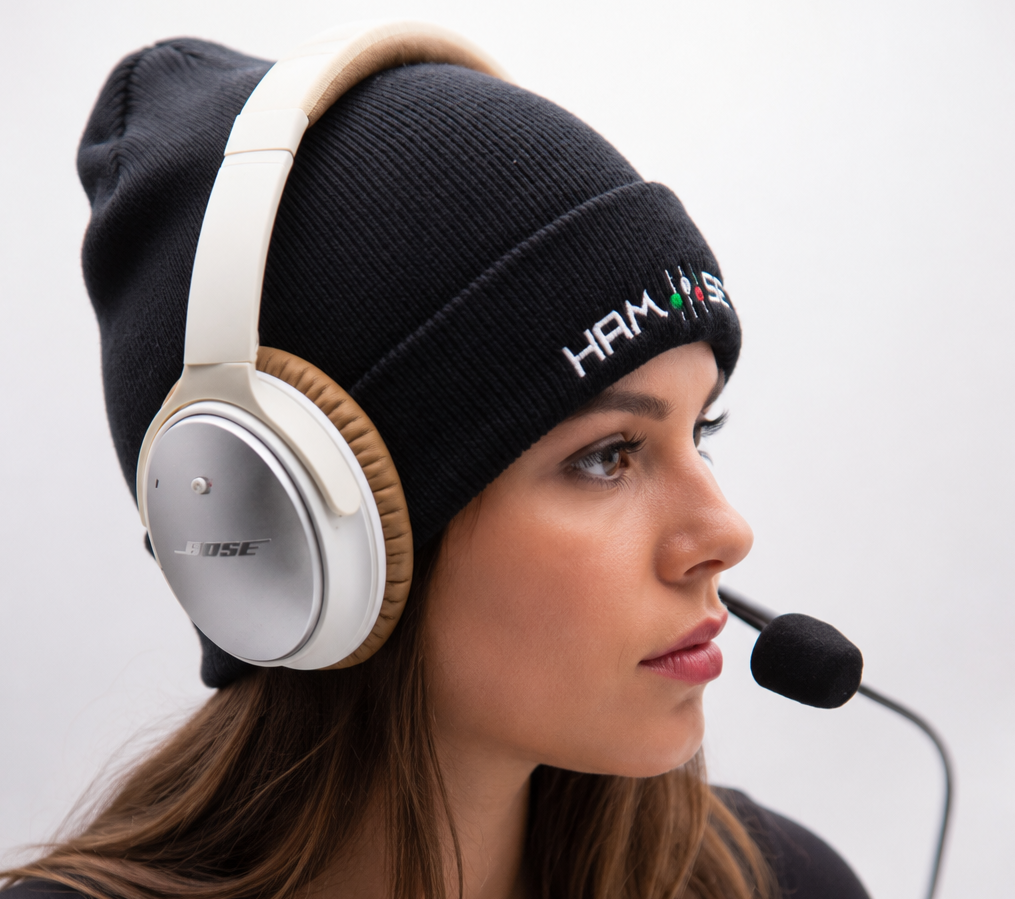
SSB Audio Setup

Set Your Microphone, EQ and Compression in the Correct Order
Good SSB audio does not depend on a single setting. Microphone position, TX bandwidth, Mic Gain, equalization and compression all affect the final result and must be adjusted in the correct order.
This guide provides a practical starting procedure for obtaining clear, natural and effective modulation without excessive gain or processing.
The objective is not simply to sound louder, but to make every part of your voice easy to understand, even under difficult HF conditions.
The Correct Setup Order
The order of these adjustments is important, because each setting can affect the ones that follow.
Open each step below and complete it before moving to the next.
Start from a simple, controlled setup and introduce EQ and processing only after the basic microphone level has been established.
Set Distance and Angle First
Set the microphone position before adjusting Mic Gain, EQ or compression, because even a small change in distance or angle can affect both the level and tonal balance of your voice.
With HamSet Dynamic Standard and Dynamic DX microphones, keep the capsule approximately 1–2 cm from your mouth and speak slightly off-axis rather than directly into it. This helps reduce breath noise and plosive sounds while maintaining a strong and consistent signal.
The HamSet Electret is more sensitive and may require a slightly greater distance. Start from the same position and move it farther away only if the level is excessive or the voice sounds too full in the low frequencies. Speaking too close can make the audio boomy, while speaking too far away reduces the level, increases background noise and may require excessive Mic Gain.
Once the correct position has been found, keep it unchanged during all subsequent adjustments.
Select the Transmitted Frequency Range
Select the TX bandwidth before adjusting the equalizer, because the radio cannot boost frequencies that have already been removed by the transmit filter. As a practical starting point, use approximately 300–2700 Hz for focused contest and DX audio, or 200–2900 Hz for a fuller and more natural voice during general SSB operation. A narrower bandwidth concentrates more transmitted energy in the frequencies that contribute most to intelligibility, while a wider bandwidth preserves more body and naturalness. These values are starting points rather than fixed rules, and the best choice depends on your voice, microphone, radio and operating style. Once the TX bandwidth has been selected, keep it unchanged during the following Mic Gain and EQ adjustments.
Create a Clean Starting Point
Before adjusting Mic Gain, switch off compression or speech processing and select a flat EQ setting or a known starting profile. Compression changes the dynamics and average level of the voice, while EQ boosts or cuts specific frequency areas. Leaving either one active with unknown settings can make it difficult to establish the correct microphone input level and understand which control is affecting the final audio. Once the initial Mic Gain has been set, EQ and compression can be introduced one at a time.
Set the Basic Microphone Level
With compression or speech processing switched off and the EQ set to flat or to a known starting profile, speak at the same volume you normally use on the air and gradually adjust Mic Gain.
Use normal speech rather than whistling, shouting or holding a continuous vowel. The transmitter must be adjusted using the real dynamics of your voice.
Check the meter On many radios, the ALC indicator should respond on the stronger voice peaks without continuously reaching or exceeding the limit indicated by the manufacturer. Other radios use different meters or procedures, so always refer to the operating manual for your model.
Too little Mic Gain The modulation will be weak and the processor may have to work excessively later.
Too much Mic Gain The audio may become distorted or aggressive, with excessive ALC activity, increased background noise and greater sensitivity to RF feedback.
HamSet microphones Dynamic Standard and Dynamic DX have similar output levels and normally require comparable Mic Gain settings. The Electret has a higher output and generally requires less gain.
At this stage, you are establishing a clean initial level. Mic Gain will be checked again after equalization.
Balance Vowels, Consonants and Voice Character
Equalization should improve clarity and intelligibility while preserving a natural voice. It should not simply make the signal sound brighter or louder.
Vowels normally contain more energy, while many consonants and articulation cues are concentrated higher in the voice spectrum and can disappear more easily in noise.
Below 200 Hz These frequencies add warmth and body but contribute relatively little to intelligibility in normal SSB operation. If excessive, they consume modulation energy and make the voice boomy or muddy. A moderate reduction of approximately 3–6 dB can be used as a starting point, depending on the voice, microphone and selected TX bandwidth.
250–500 Hz This area contributes fullness, but excessive energy—particularly around 300–400 Hz—can make the voice sound boxy or enclosed.
500–1500 Hz These frequencies provide much of the natural character of the voice and should normally remain reasonably balanced. Too much energy around 700–1200 Hz can create a nasal sound, while excessive attenuation can make the modulation empty and unnatural.
2–3 kHz This area is essential for consonant definition, articulation and readability through noise. If the voice lacks clarity, a moderate boost of approximately 2–4 dB can be used as a starting point. Microphones with an already emphasized presence response, such as the Dynamic DX, may require little or no additional boost.
Upper frequencies Excessive energy near the upper edge of the transmitted bandwidth can make the audio harsh, metallic or tiring to listen to.
Make small changes, normally 2–3 dB at a time, and adjust only one frequency area before listening again. With a simple Bass and Treble EQ, move one control by one step at a time. With a parametric EQ, begin with broad or medium-width adjustments rather than narrow peaks.
For help identifying which frequency area is responsible for a specific on-air report, read Understanding Audio Reports.
Verify the Level After EQ
Equalization changes not only the tonal balance but also the total level entering the transmitter.
A boost at 2–3 kHz, for example, can increase the level of consonants and cause more ALC activity even though the Mic Gain control has not moved.
After completing the first EQ adjustment, use the same microphone position, speaking volume and test phrase used previously, then check the input level and ALC again.
If the meter now regularly exceeds the range specified for the radio, or if the audio begins to sound compressed or distorted before the processor has even been activated, reduce Mic Gain slightly.
Do not automatically lower Mic Gain after every EQ change: frequency cuts may reduce the total level, while small boosts may not require any correction. The purpose is to preserve the tonal improvement while keeping the audio chain clean.
Avoid compensating for a large EQ boost by drastically reducing Mic Gain; if this becomes necessary, the EQ adjustment itself is probably excessive.
Once the equalized signal produces a stable and correct level, leave Mic Gain and EQ unchanged and proceed to compression.
Increase Average Talk Power
Compression or speech processing should be activated only after microphone position, TX bandwidth, Mic Gain and EQ have been established.
The processor reduces the difference between the strongest and weakest parts of speech, increasing average talk power and helping softer syllables and consonants remain audible during contests, pile-ups and weak-signal operation. Start with a low or moderate setting and increase it gradually while using normal speech.
The objective is a more consistent signal, not a permanently compressed or unnaturally loud voice.
If the radio provides a compression meter, use the range recommended by the manufacturer; the values and scales are not the same on every transceiver.
Excessive processing can flatten the dynamics of the voice, make consonants aggressive, increase breathing and background noise, and produce distortion or listening fatigue.
Some radios provide separate controls for compression level and processor output. In that case, first set the amount of compression, then adjust the processor output so that the final ALC remains within the permitted range.
Do not use processor output as a substitute for Mic Gain, and do not use compression to correct a tonal problem: boomy, boxy, nasal or harsh audio must be corrected with microphone position or EQ.
For general SSB, light processing is normally sufficient; contest and DX operation may benefit from a stronger setting, provided clarity is improved without audible distortion.
Verify the Complete Audio Chain
With the selected TX bandwidth, EQ and compression all active, perform a final check using your normal speaking voice.
Confirm that the ALC and processor indications remain within the ranges specified for the radio and that the transmitted level is stable without being continuously driven to its limit.
Listen for distortion, pumping, clipped consonants, excessive background noise or a voice that becomes noticeably harder and less natural when the processor is switched on. If the final level is excessive, identify the real cause before changing anything: it may be Mic Gain, an excessive EQ boost, too much compression or a processor-output control set too high.
Avoid reducing all controls together, because this destroys the balance established during the previous steps.
The most practical final test is a short contact with an experienced operator who knows what to listen for.
Ask for a specific report on clarity, low-frequency excess and harshness rather than simply asking whether the audio is “good”.
An independent receiver or recording can provide a more repeatable comparison when available, but it is not essential for using the guide. Once a clean and intelligible result has been obtained, save the configuration in a radio memory and use it as the reference point for any future adjustment.
Starting Points for HamSet Microphones
The following indications describe the general behaviour of each HamSet microphone element. They are practical starting points, not fixed settings, because the final result also depends on your voice, radio and TX bandwidth.
The Dynamic Standard provides the fullest and most natural response of the two HamSet dynamic microphones. It normally requires a Mic Gain setting similar to the Dynamic DX. If the audio sounds too warm, boomy or muddy, reduce the low frequencies slightly. If it lacks articulation, add a moderate amount of presence around 2–3 kHz.
The Dynamic DX has approximately the same output level as the Dynamic Standard, but its frequency response provides greater articulation and a more forward sound. It normally requires less boost in the 2–3 kHz area. If the audio becomes too sharp or aggressive, reduce the Treble / High frequencies slightly.
The Electret has a higher output level and generally requires less Mic Gain than the dynamic microphones. Its wider response can produce a fuller sound, but the low and low-mid frequencies may need to be reduced. Always use the correct adapter and verify that the radio provides the required bias voltage.
Tested Starting Settings
The presets below are practical starting points tested with specific combinations of radio and microphone elements.
They are not universal settings. The final result may vary depending on the operator’s voice, microphone position, radio firmware, TX bandwidth and operating style.
Use the preset that most closely matches your equipment, then make only small adjustments if necessary.
Our thanks go to the operators who created, tested and shared these setups. Their names or callsigns are indicated in the corresponding file names.
File format: Excel (.xlsx) – Last update: August 2026
Hear the Difference
Specifications cannot fully describe how a microphone sounds.
Visit Mic Sound Check to compare real recordings of the Dynamic Standard, Dynamic DX and reference microphone elements under repeatable on-air conditions.
Understanding On-Air Audio Reports
Learn what operators really mean when they describe your transmitted audio.
Is “too much bass” really a bass problem? Does “boxy” mean the same as “muddy”? And which EQ control should you adjust first?
Discover how to interpret on-air reports and turn vague comments into useful corrections.
Which HamSet Is Right for You?
Not sure which headset, microphone element or configuration best suits your operating style?
Visit the HamSet Buyer’s Guide to compare the available models, understand the differences between the Dynamic Standard, Dynamic DX and Electret microphones, and choose the right solution for contesting, DXing or everyday use.
Store Your HamSet the Right Way
Correct storage helps protect the headset, microphone boom and cable from unnecessary stress or damage.
Visit Back in Its Bag for a simple step-by-step guide showing how to fold your HamSet correctly and place it safely inside its carrying case.